Smart Ways to Get Rid of Clothes After You Do a Closet Purge

Sure, we’ve all donated clothes at some point, or had a garage sale and parted ways with old garments for a few bucks. If you’ve recently cleaned out your closet you might have discovered that many of the items you no longer want still have a lot of life left in them. Perhaps you even paid a lot of money for them and you can’t stand the thought of them ending up in a garage sale box. If so, consider these great suggestions.
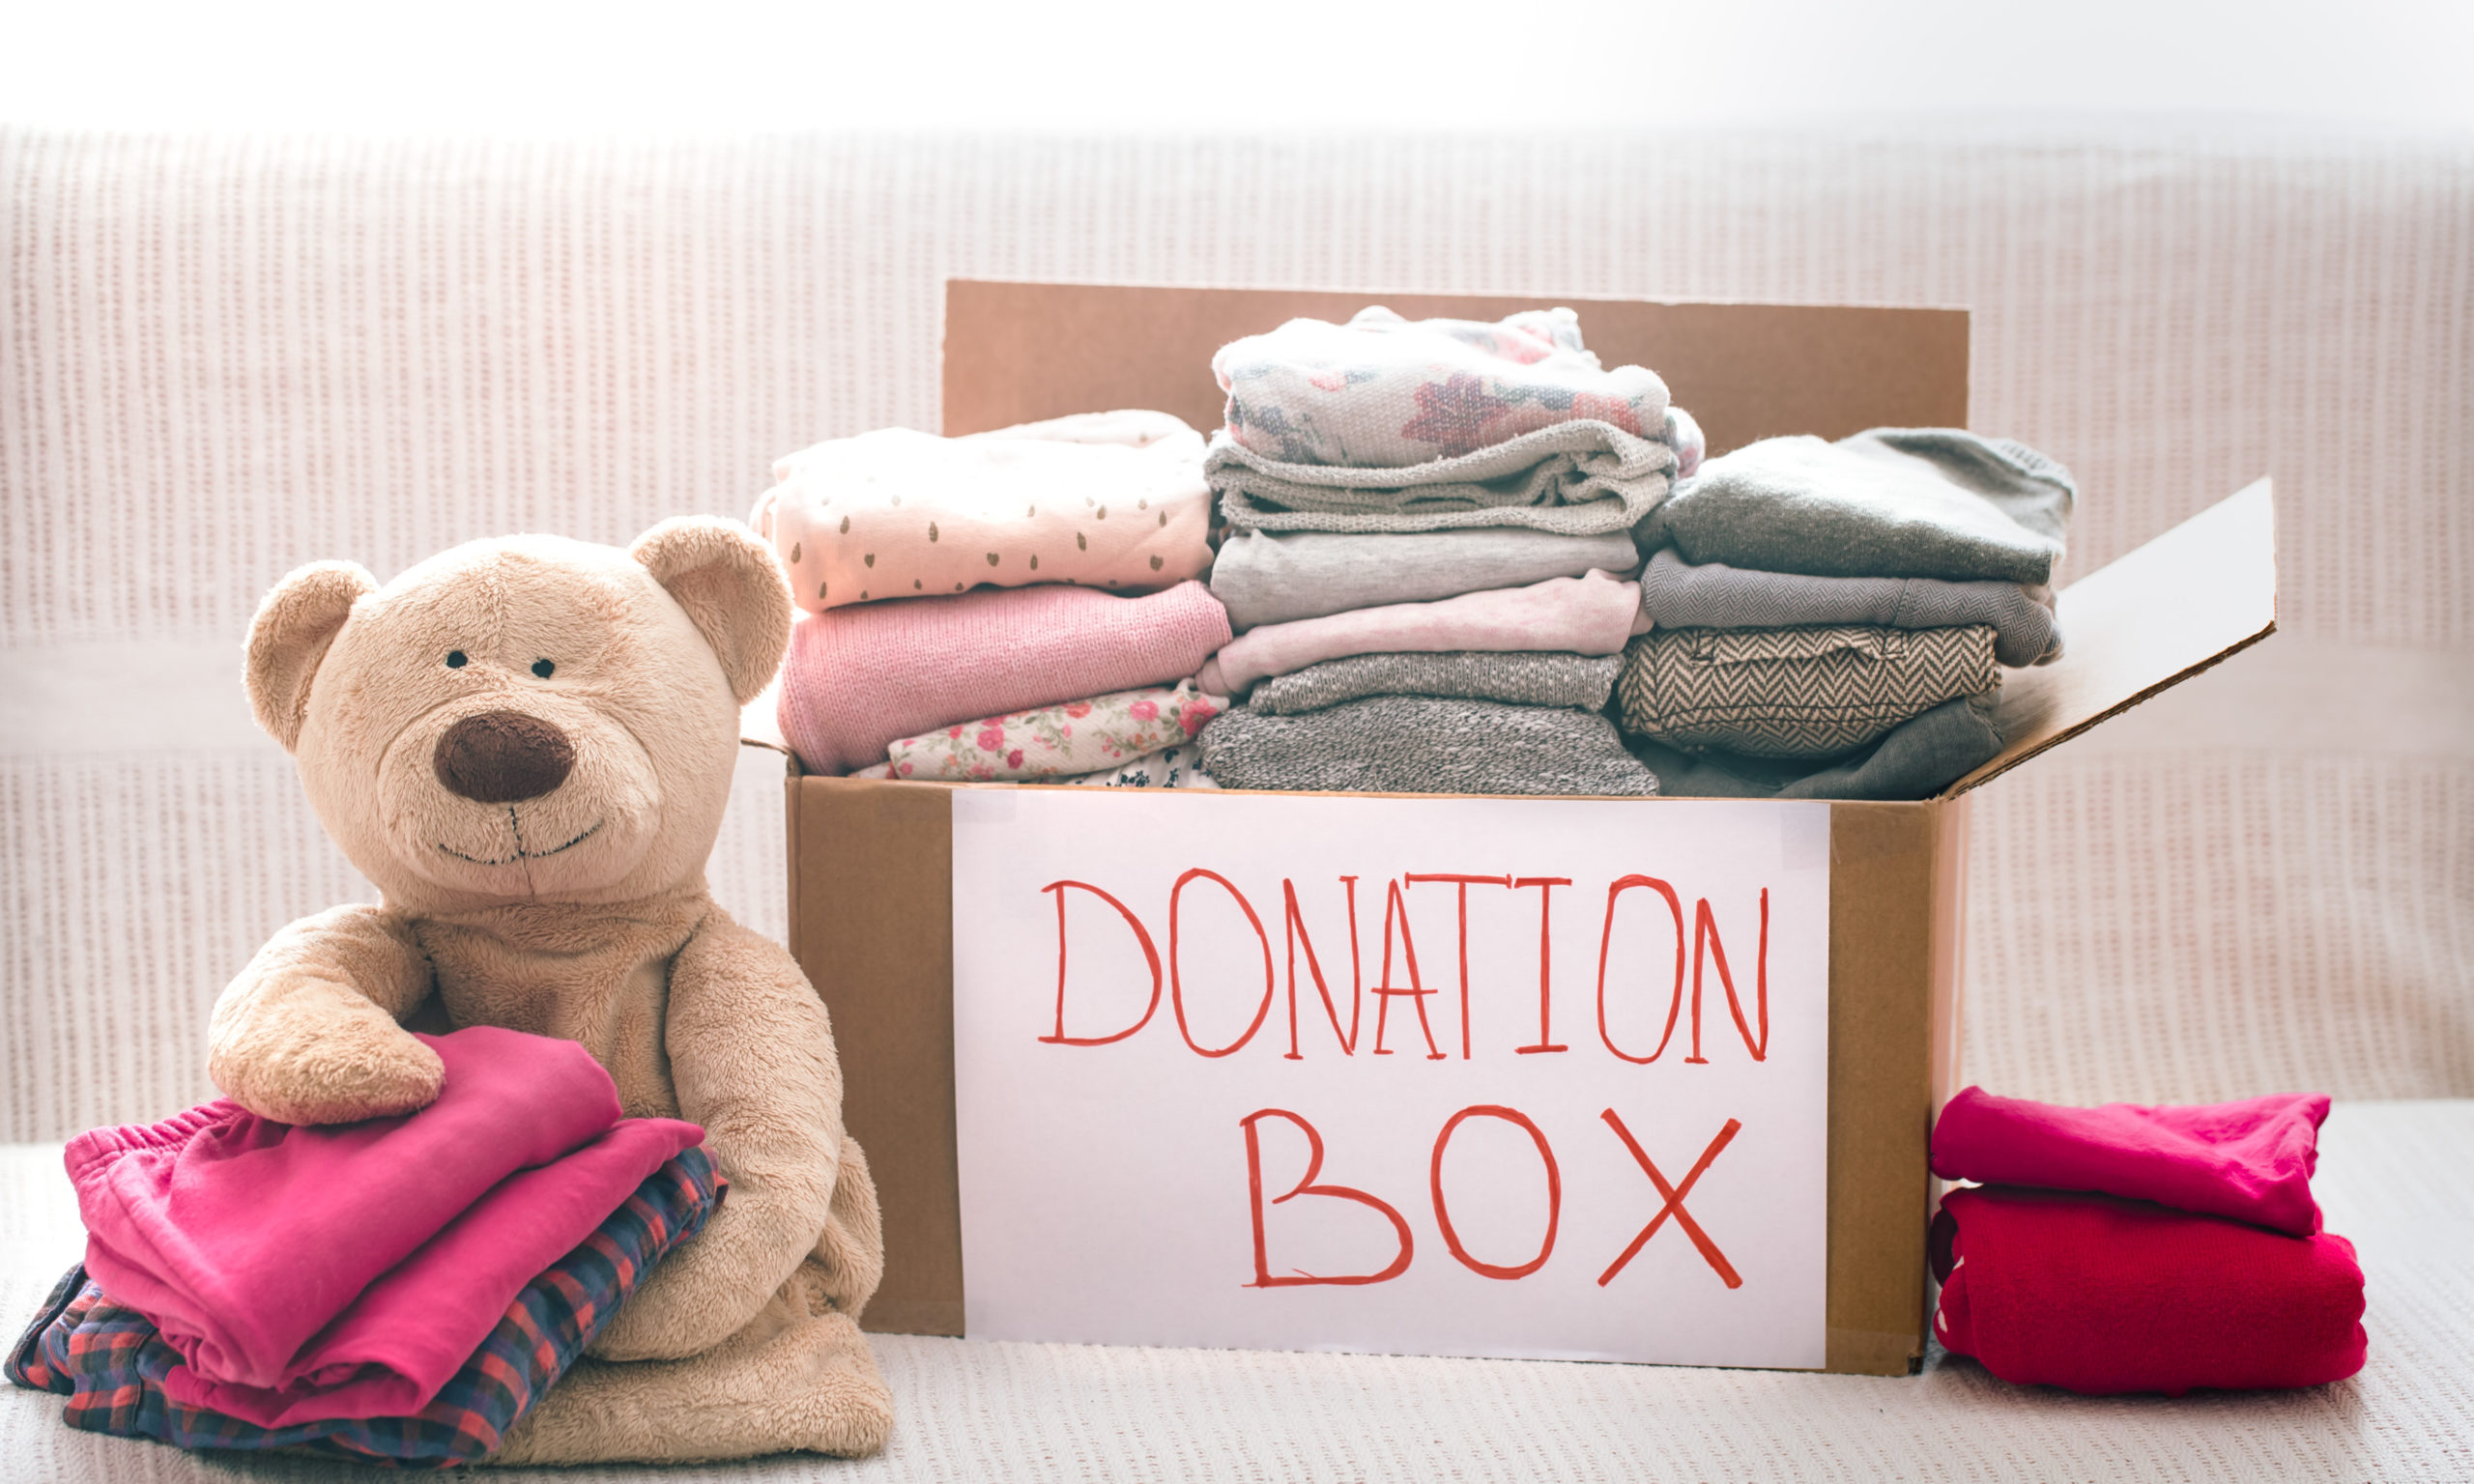
Donate

“Old-reliables” such as Goodwill and Salvation Army* are always a great place to start. But there are some more specific organizations out there that would find women’s clothing especially beneficial. Look for career development organizations that empower underprivileged women to find stable, well-paying jobs. They need career wear to help these women look their best on interviews and at work.

If you have beautiful gowns or dresses hanging around, look for organizations that serve underprivileged teens who have hopes of attending formal dances in high schools. Even if the dress isn’t the exact style they have in mind, it might be a great starting piece that can be reinvented at the hand of a crafty seamstress who donates her time.

Also, consider women’s shelters in general. They often provide a haven for women and children who had to flee without the opportunity to bring along personal belongings. If you’re not sure where to find these organizations try online resources such as Charity Watch or Charity Navigator. Not only will you feel great about taking the time to find someone truly deserving, but you can also keep a record and report them as a write-off at tax time!

Host a fabulous swap party at your home or a local restaurant

The only imperative part of this is that you give everyone plenty of notice. Think about how much work it is to clean out your closet! Your guest will need enough time to get their closet purge project done before attending your party. Other than that, this is a super easy and fun way to de-clutter your closet. Simply invite everyone and serve a few goodies and beverages. Devise a basic system for the trade process and let the fun begin!

*Fulton Homes is not affiliated with or suggesting any particular organization. These are ideas to inspire you to do the most good.

Cleaning vs. Sanitizing vs. Disinfecting

Let’s be honest; we all love having a clean, spick-and-span environment. In fact, this reason is why we continually clean our homes to help take pride in our properties and to reduce the spread of bacteria and germs. Yet, cleaning your home is a generic term we often misuse. In fact, you will find that cleaning, sanitizing, and disinfecting all have distinct definitions. For instance, the level of cleanliness differs. How clean a dish is after washing it with soap and water is very different from how clean a scalpel is before a surgeon performs surgery. To further explain, here are the differences between cleaning, sanitizing, and disinfecting:

Cleaning

To clean something is to remove any visible dirt or debris physically. We do this all the time in our homes, from washing dishes, vacuuming, sweeping, and dusting. Additionally, cleaning will also facilitate the use of water and detergent, sometimes like wiping down your countertops with soap and water. However, water and soap do not kill germs. Adding water to the cleaning process is more or less to dilute the number of germs on a given surface.

Sanitizing

To be more thorough, the method will be sanitizing. This process kills 99.99% of germs and bacteria that can be health hazards. It is more used for things that may enter our bodies, such as food. You can sanitize an area or surface with strong chemicals, as well as extreme heats reaching over 170 degrees Fahrenheit. Hence why dishwashers use intense heat to help reduce the number of unwanted fungi and bacteria.

Disinfecting

Lastly, disinfecting is the most thorough of the processes. Disinfecting something kills the germs, fungi, and bacteria completely. This process is done with powerful chemicals, UV-C germicidal short wavelengths, ultraviolet lights, and other machinery. This process is not typically done in our homes. It is a process used for hospitals prior to surgeries.

Knowing these three methods can help you prioritize them. Try to clean your home and remove visible debris and dirt frequently. It is a great habit to achieve daily. For instance, you can sanitize your home during the weekends or, when needed, in high-bacteria areas or food prep areas. Lastly, you will only try to disinfect your home if you know sickness is afoot in your home. Go the extra steps when you have someone extremely sick to help prevent the spread.

Deep Cleaning Your Bathroom

Keeping a bathroom clean and tidy is one thing; however, it needs to be deep cleaned as well. These rooms can be very prone to bacteria and germs. Plus, the bathroom has many surfaces to clean. It is always best to start from the top and work to the bottom. Since most bathrooms will have similar trouble areas, if you are looking to deep clean your bathroom, here is everything you need to do:

What to Have 

  • microfiber cloth 
  • rags or paper towels 
  • antibacterial spray 
  • glass cleaner 
  • toothbrush 
  • toilet cleaner 
  • baking soda and vinegar 
  • dawn dish soap 
  • lemon 
  • bucket 
  • sponge 

Where to Begin

If the weather is permitting, open up a window to allow some fresh air to come into the room. Begin by using a glass cleaner and a microfiber cloth or paper towels to clean your windows and mirrors. If you have any fans or ceiling wall trim, dust them at this time.

Sink, Shower, and Bath

Wipe down your countertops with a mixture of water and white vinegar. This mix should remove any soap scum or toothpaste. Clean the inside of the sink with this as well. If your faucet is smudged, you can use a lemon to help bring back out its natural chrome shine. Use toilet cleaner in the toilet and allow to sit. Use a toilet brush to scrub toilet bowl. Remember to wipe down all over your toilet to remove bacteria with warm water and vinegar. You can add dawn dish soap to also help add to the cleaner. Do not forget to get behind the toilet! This area is where a lot of dust will accumulate. Next, clean your shower head and facet with the lemon. Clean your bathtub with your vinegar and water as well.

Floors and Baseboards

Finally, you can clean the floor. If your bathroom is tiled, create a baking soda paste—mix baking soda and water in a small cup. Use your toothbrush to clean the grout lines. Next, mix your vinegar and water in a bucket. Use your sponge to clean each tile thoroughly. Do not forget to wipe down your baseboard and allow it to air dry.

Deep cleaning your bathroom should be done several times a year. These steps can help you quickly clean your bathroom from start to finish. Plus, most of these cleaners can be found around your own home. For more quick tips on deep cleaning and home maintenance, make sure to subscribe.

How to Declutter Your Countertops

The kitchen is the heart of the home. When designed correctly, it can also be one of the most beautiful areas in your house as well. From elegant flooring options, backsplashes, kitchen appliances, lighting, countertops, and more, this area is easily one of the most customizable rooms a home has to offer. This reason is why it is essential to make sure you keep your kitchen looking spic and span. However, kitchens are used every day, so our countertops can easily become home to many miscellaneous items or even kitchen goods. And this clutter can easily take from the room’s aesthetics and beautiful countertops. To help, here is a checklist for everything that should be on or off your countertops:

Is It Kitchen Essential?

The first question to ask yourself is, “is it a kitchen essential?” Our kitchens are facilitated daily, and this factor can lead to many items accumulating in them. Small things like mail on the counter, backpacks, schoolwork, or even books can slowly start collecting overtime on your kitchen counters. So try to find places for everything in your home. Perhaps you need to create a new spot to store your keys or a place to put your mail when you get it. These are great habits to prevent kitchen clutter.

How Often Do You Use It?

Next, how often do you use items on your counters? Maybe you use a coffee maker daily. Then this is an excellent utensil to sit on display; however, having a food processor or mixer our on display may not be in your best interest. This comes down to personal use. If you use things daily, they deserve a spot on your countertop. The other utensils and appliances need to be stowed away in a safe place, however.

Can It Be Stored Safely?

Next, can it be stored safely? A butcher block with kitchen knives will not stow away correctly in a pull out drawer. Or perhaps you have a Keurig which holds water and cannot be turned on its side. Make sure you consider if stowing away appliances is the correct and safe way to go about it. Maybe you use a toaster daily for breakfast. If it is still hot, then you cannot put it into a cabinet or drawer. Consider safety first and foremost.

Is It Aesthetically Pleasing?

Your countertops have a coffee maker, a griddle, and a toaster oven. Maybe your accent color in your kitchen is bright red. Every one of your appliances is bright red, but your coffee maker is turquoise. This color may come across out of place. While it may not be right to hide the coffee maker, perhaps you can create a way to store it on your countertop in a more aesthetic manner. Be creative!

Is It Hurting Functionality of the Room?

Lastly, we do not have unlimited countertop space. Be honest and consider if appliances on your countertops are taking away from the kitchen’s functionality. If your counters are too clutter, you need to make some changes. This factor needs to be considered unbiasedly and can be challenging. However, when you put functionality first, your kitchen will feel even more welcoming and inviting.

Your countertops can be a focal point of your entire design. Allow them to shine by keeping your countertops clutter-free. Remember, sometimes less can be more. While minimalism does not happen overnight, it can be facilitated daily to keep your home beautiful.

Ideas to Declutter Your Home

How often do you walk past items that are stacked in a corner or piled up on a table? If you are like most people with busy lifestyles, it is almost a given. We get so busy with work, school, children, and home life that we start to ignore those messy spots and even program ourselves to walk past them.

Fortunately, winter is the perfect time to declutter and purge unneeded household items. Just by decluttering one room per week or month, you will be surprised at how much better you feel and how nice and tidy the house looks! Our easy tips and tricks are listed below for creating a better work/home balancing act just by decluttering. Let’s take a look!

The Bathroom

Start in the bathroom using a 40-gallon heavy-duty yard bag and begin cleaning underneath your cabinets and inside of your drawers. You will want to remove all old and unused bottles as well as expired beauty and bath products. Of course, with expired medicines, remove or mark out the identifying information. For the eco-friendly person, simply drain the remaining contents of plastic bottles and containers, rinse with water, and place it in your recycle bin. Just be sure to safety dispose of all old medicines.

The Kitchen

Next, head to the kitchen. We know the kitchen will take some extra time, especially if you declutter well. Begin in the fridge and check all the bottled and packaged items’ expiration dates on the labels. Next, move on to the freezer and do the same thing. Again, use a large yard bag or take the time for the environment and recycle the bottles and plastic containers, etc.

The Home Office

The unwanted paper around the house like junk mail, advertising flyers, old homework, and expired newspapers should be removed next. Again, place in a large yard bag or recycling bin, but make sure you use a shredder for anything that has personal confidential information.

The Playroom

Old, broken toys and sports equipment are always a given and should be discarded for safety purposes. Many of these items are large and take up a lot of room. Also, many of these are covered in dirt, and other things we do not want to think about that will most definitely contain bacteria. If there are items that are still in good shape, donate them, sell at a consignment store, or sell them online.

As always, please let us know how your task turned out, and please share your thoughts and ideas below in the comment section. Happy decluttering!

How to Clean Suede, Leather, and Microfiber Furniture

It is a great habit to regularly clean your home to help kill germs and keep a cleaner living space. When it comes to many hard surfaces, a multipurpose cleaner can typically help get the job done. However, it can become a little more challenging to do soft surface furniture. Adding too much water or chemicals can quickly ruin many materials. To help, here are several common soft furniture finishes and the best ways to clean them:

Suede

It is important that you know your furniture is authentic suede. Suede is made from the underside of animal skin. Use a suede leather brush to brush away any debris on your furniture. If you have any spilled liquids on the suede, use a paper towel to absorb the liquid. Do not scrub the liquid because this can make it penetrate deep into the material and stain it. If you do have stain, apply a small amount of suede stain cleaner, suede eraser, or a diluted mix of white vinegar and water directly to the stained area. Blot away with a white paper towel or napkin and allow it to dry.

Leather

For leather furniture, you can start with the famous duo of soap and water. Use a washcloth to spread the soapy water to the furniture. Use another cloth to help wipe away the water after applying. Allow the coach to dry and then apply leather cream. Remember, leather is animal skin. Just like our skin, it can dry out and crack. A leather cream will help keep moisture in your leather.

Microfiber

Microfiber is a synthetic material made from polyester. Locate on your couch a manufacturer tag. The tag should have one of three letters: W (Water-based cleaner), S (Solvent-based cleaner), or X (Vacuum only). Start by vacuuming any debris off your sofa or furniture. When you know what cleaner your couch can use, test in an unnoticeable area of the furniture. Look for any bleaching or discoloration. Next, apply your cleaning product to any stains. Alcohol cleaners are known to dry out microfiber after they are dry. Use a microfiber brush to help the material go back to normal after it dries.

Do not be afraid to treat stains and clean the soft surfaces in your home. These areas can harvest unwanted germs and bacteria. Make sure you are keeping up on your home’s clean routines by adding these steps to the mix.

Three Places You Are Forgetting to Clean

Cleaning our homes can become somewhat of a ritual. You begin to form habits and techniques for keeping your own home spic and span. However, as we develop these habits, areas in our homes that do not need to be cleaned as often can become forgotten. It is easy to remember to do your dishes when you use them every day; however, less frequent or annual tasks can easily be overlooked.

Dusting Fans and Baseboards

Dust accumulates very easily around homes. It is easy to remember all the surface areas that we come in contact with daily. However, out of sight, out of mind can easily apply to dust. Our baseboards can collect a ton of dust. Remember to give them a quick wipe down every now and then to prevent the accumulation. Also, our ceiling fans harvest dust very easily as well. Wiping the top side of the ceiling fan is a vital spot to hit when dusting. Make sure you are not forgetting these two areas!

Grout Lines

Grout is very porous and can absorb a lot of unwanted debris and stains. This happens throughout our high traffic areas in our homes. Once-light grout lines can become mucked and darkened over time. This can look like this is the way it should be; however, these grout lines are incredibly dirty. Make sure to use grout cleaner or your own homemade cleaner to polish up your grout lines in tiled areas of your home.

Steam Clean Carpets

We can remember to vacuum our carpets pretty easily. There is something satisfying about fresh vacuum lines on carpet. Yet, we may forget that many carpet manufacturers recommend steam cleaning your carpet once a year. This means you should remove furniture from the room and steam your carpet. Your fibers can collect dirt deep down inside them, which the steam can penetrate out of them. Remembering to do this may easily slip your mind without creating a reminder.

These are just some simple reminders for cleaning your home to keep in your arsenal. Did you forget any of these three? What are some recommendations of areas that you have forgotten or want to remind others? Let us hear from you below in the comment section!

Kitchen Sink Organization

The kitchen is the heart of the home; therefore, creating your dream kitchen can express your style and design. From mesmerizing backsplashes to intricately designed appliances, your kitchen can quickly become the most stunning part of your home. However, nothing takes away from this dream like clutter, and one spot reigns notorious overall in this category: the sink. Having a messy sink is easy. We usually eat three times a day and sometimes feed more than one person during a meal. Hence why this area can quickly become an eyesore if not taken care of correctly. However, some simple kitchen sink organization skills can help have your sink looking clean and less cluttered. We break down the three ways to organize your sink and keep it clean and crisp all year. Let’s take a look!

The Essentials

Your kitchen sink most likely has some critical components which you use daily when washing your dishes. These elements make the cut for what can stay in view. For instance, you may have a soap dispenser, maybe a plug for the sink, and perhaps a drying towel, and even a scrub brush. If you can tuck any of these away in your false drawers, take advantage of the space. If not, have a clean, organized set up of where these items belong.

Drying Area

The next key spot is your drying rack. If you have a dishwasher, you do not need to worry about this. However, if you do not have this amenity or have wooden or plastic utensils, you will need to designate a space. Some drying racks can connect right into your sink. Just make sure these areas never become cluttered. These are easy to allow items to overstay their welcome. Use your drying towel and have the dishes and utensils back to their homes before leaving the area.

Under Your Sink

Under the sink is a useful area. You can store your trash, recycling, chemicals, and other cleaning agents. This area is where your extra cleaning materials should go that you do not use daily. If you have small children, you may need to put a locking mechanism on this cabinet as well. Extra sponges, cup cleaners, and stain removers can all reside happily underneath your sink until needed.

It is easy to allow your kitchen to become cluttered. Having an organized and clean sink area is something that you need to keep up with daily. Do not let this become the downfall of your kitchen. Take pride in your kitchen and allow your kitchen to warm your entire household.

Home Cleaning Hacks You Must Know | Part Two

We are constantly cleaning our homes. Having a couple of efficient shortcuts never hurt anyone. As we explored in the first part of the series, there are certain tricks of the trade that can help you clean faster and more efficiently. However, we are not done yet! We put together some more great cleaning hacks for you to add to your own home. Try these to help save more time and be even more efficient at cleaning.

Cleaning Blender

Blenders can be difficult to clean after each use. You can take them apart, yet not everything is dishwasher friendly. A lot of fruits, powders, and liquids can muck up all around the insides. To help break them down, leave the blender plugged into the wall, then fill with hot water and soap and turn on the high setting. This concept will help break down much of the unwanted grime.

Clean Your Sponges

Sponges can be very handy when doing the dishes or cleaning around the home. However, wet sponges can become a home to harvest bacteria and germs. Instead of throwing away your sponges when they look dirty, add some lemon water to them. Simply throw your sponges in the microwave and let them disinfect for a minute. Careful when you remove them, however, because they may be hot!

Baking Soda on Carpet

Carpet can start to pick up unwanted scents. If you have animals, children, or simply do not want your carpet to collect a particular scent, try this solution. Spread baking soda around your home over the carpet. Allow it to sit for fifteen to twenty minutes. The baking soda will absorb all odors, then simply vacuum your carpet, and enjoy!

Dishwasher Versatility

Are you just using your dishwasher to clean dishes? You can use your dishwasher for even more potential benefits! Try using it to wash hats, showerheads, mouth guards, makeup brushes, and combs. The hot steam will disinfect and clean all of these! Just be sure to read online what rack to place your items on to keep them safe.

You can try adding some of these clever tricks to your cleaning routine. You even may be amazed at the benefits they have to offer.

What are some of your favorite cleaning hacks? Let us know below in the comment section!

Three Natural Cleaners Found in the Kitchen

There are so many harsh chemical cleaners nowadays, it can be challenging to find something that is safe to use around your house. If you have animals or children, it can be especially worrisome just having toxic chemicals in the house, let alone using them on surfaces that your loved ones will touch. Sometimes it is better just to skip the cleaning products altogether and go with the most natural alternative. If you decide to go this route, here are a few products you most likely already have in your kitchen, which can clean your home efficiently and safely:

Lemon

Lemon juice is a great natural cleaning option and can be used on just about anything. Its antibacterial properties and low pH levels make it an excellent disinfectant, and the fresh smell of lemons is an added bonus. Due to the acid content of lemon juice, avoid using it to clean natural stone or brass-plated items because it can cause erosion.

Distilled White Vinegar

Vinegar is a natural disinfectant and can be used in a diluted solution with water to mop and clean your floors. It can also cut through grease and acts as a natural deodorizer, so it can be an excellent option for cleaning tougher areas such as your oven or microwave. Similar to lemons, Vinegar is an acid-base, so it should be avoided when cleaning natural stone and brass-plated items.

Baking Soda

Baking soda pairs exceptionally well with a sponge. Its grit lends a helping hand to any job that will take some scrubbing. It also does an excellent job combating grease, making it an excellent option for cleaning your stove or microwave.

The beauty of these three natural cleaning items is that they can all be combined and used together, and you do not have to worry about a toxic mix of chemicals. It is an especially good idea to use natural alternatives in the kitchen. Most of the items in your kitchen will come in contact with your food or drink, and some cleaning products can be toxic if ingested. If you have children or pets, it can also be a smart idea to find more natural cleaning alternatives to use around the entire house. Do you have any other natural cleaning alternatives you like to use? We would love to hear from you below in the comment section!